 Get
Get  Shop
Shop Contact


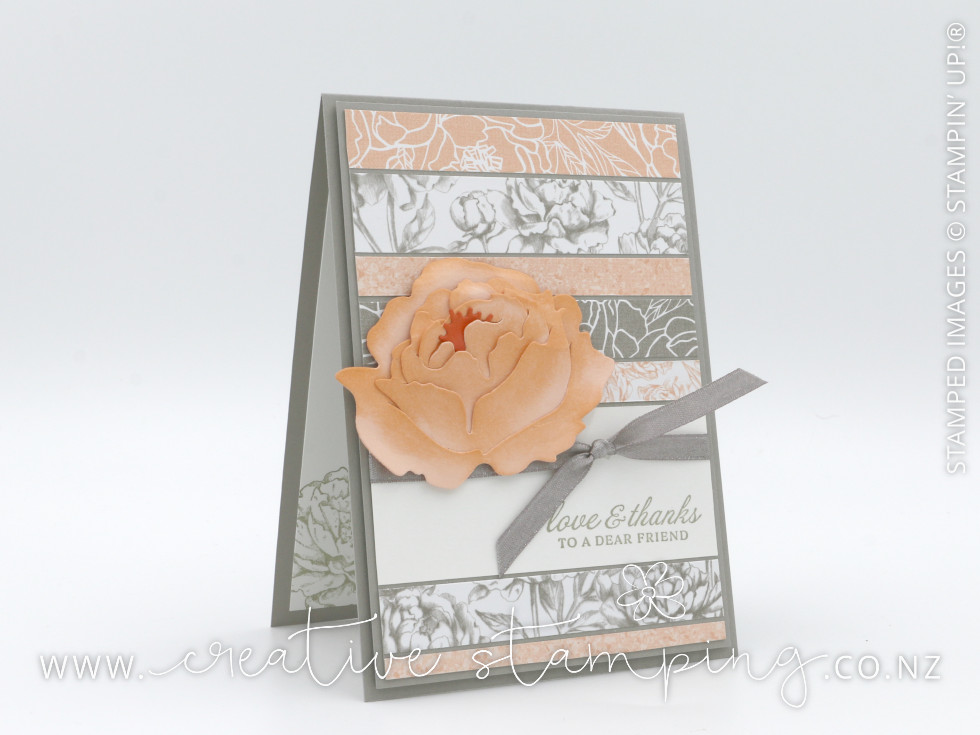
This card has two fun techniques... constructing a beautiful paper Peony and using the scrappy strip technique for a fabulous background. First I'll share how some tips on how to create this card and then I'll give you a photo-fest of how to create the Peony using the Peony Dies.
Bundles: Prized Peony Stamp Set + Peony Dies (cling: 154056). Ink: Gray Granite (147118), Petal Pink (147108). Card/Paper: Gray Granite (147008), Calypso Coral (124392), Whisper White (106549), Peony Garden Designer Series Paper (152483). Accessories: Gray Granite 1/4" Shimmer Ribbon (152463). Tools: Sponge Daubers (133773), Tombow Multipurpose Liquid Glue (110755), Stampin’ Dimensionals (104430).
The inspiration for the scrappy strip background of this card comes from page 125 of the 2020-2021 Annual Catalogue. Begin with a piece of cardstock that is a little smaller than your card front and adhere to it different widths of cardstock and designer paper that coordinate together. You can either leave small gaps between each strip or stack them tight against each other. For this card, I used Gray Granite cardstock with scraps of the Peony Garden Designer Series Paper.
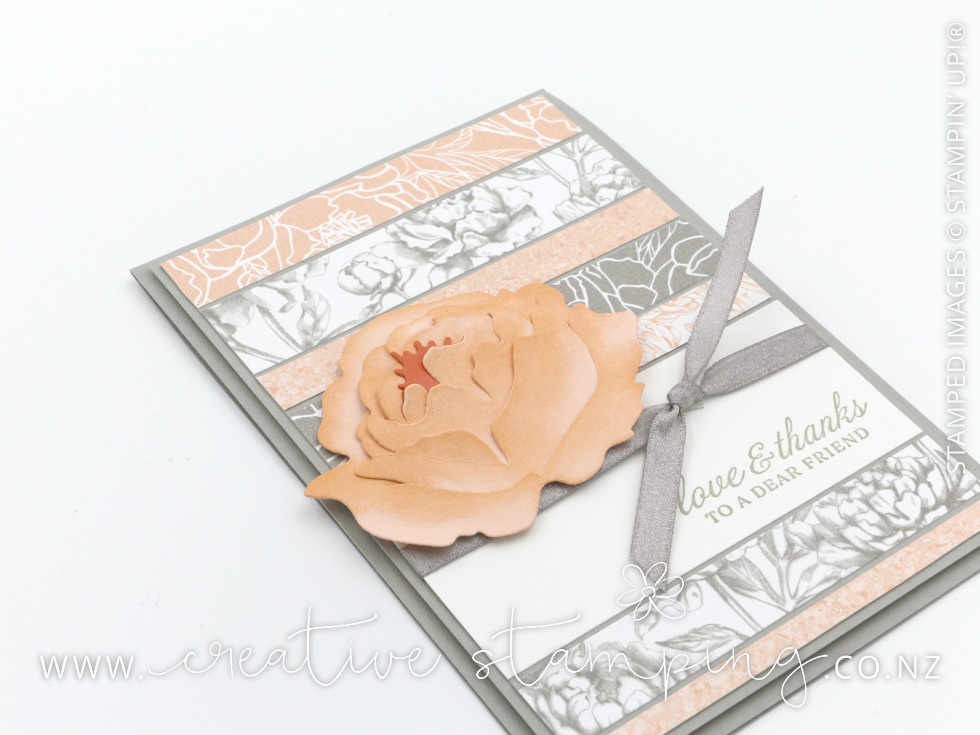
Once the cardstock is covered, use your Paper Snips or Paper Trimmer to cut off the overhanging pieces before mounting it onto a slightly larger piece of cardstock to give it a border. Finally, add to the card front with Stampin' Dimensionals.
This technique is not only a lot of fun to do but it also puts your paper scraps to great use!

Peony Garden Designer Series Paper (152483) - $24.25
Twelve sheets of 12" x 12" patterned paper: 2 each of 6 double-sided designs
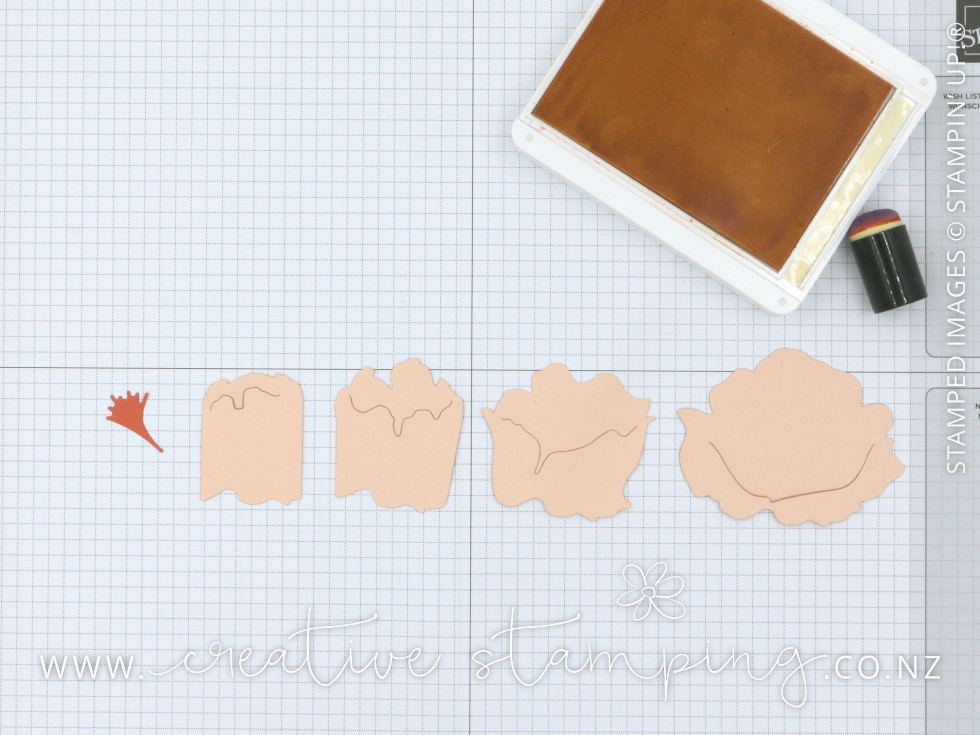
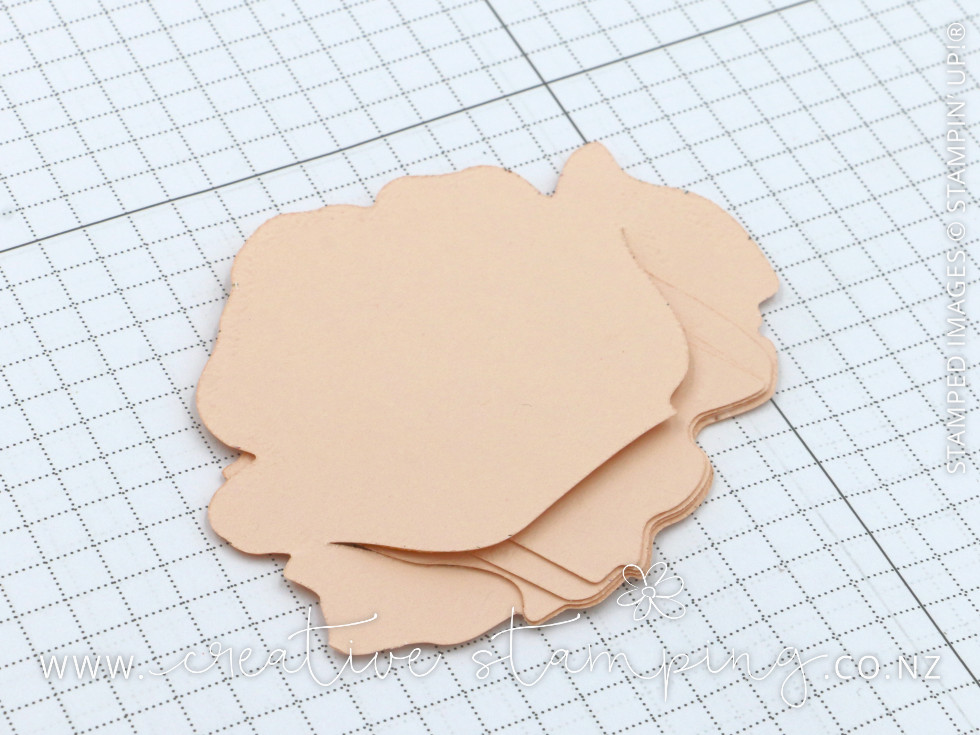
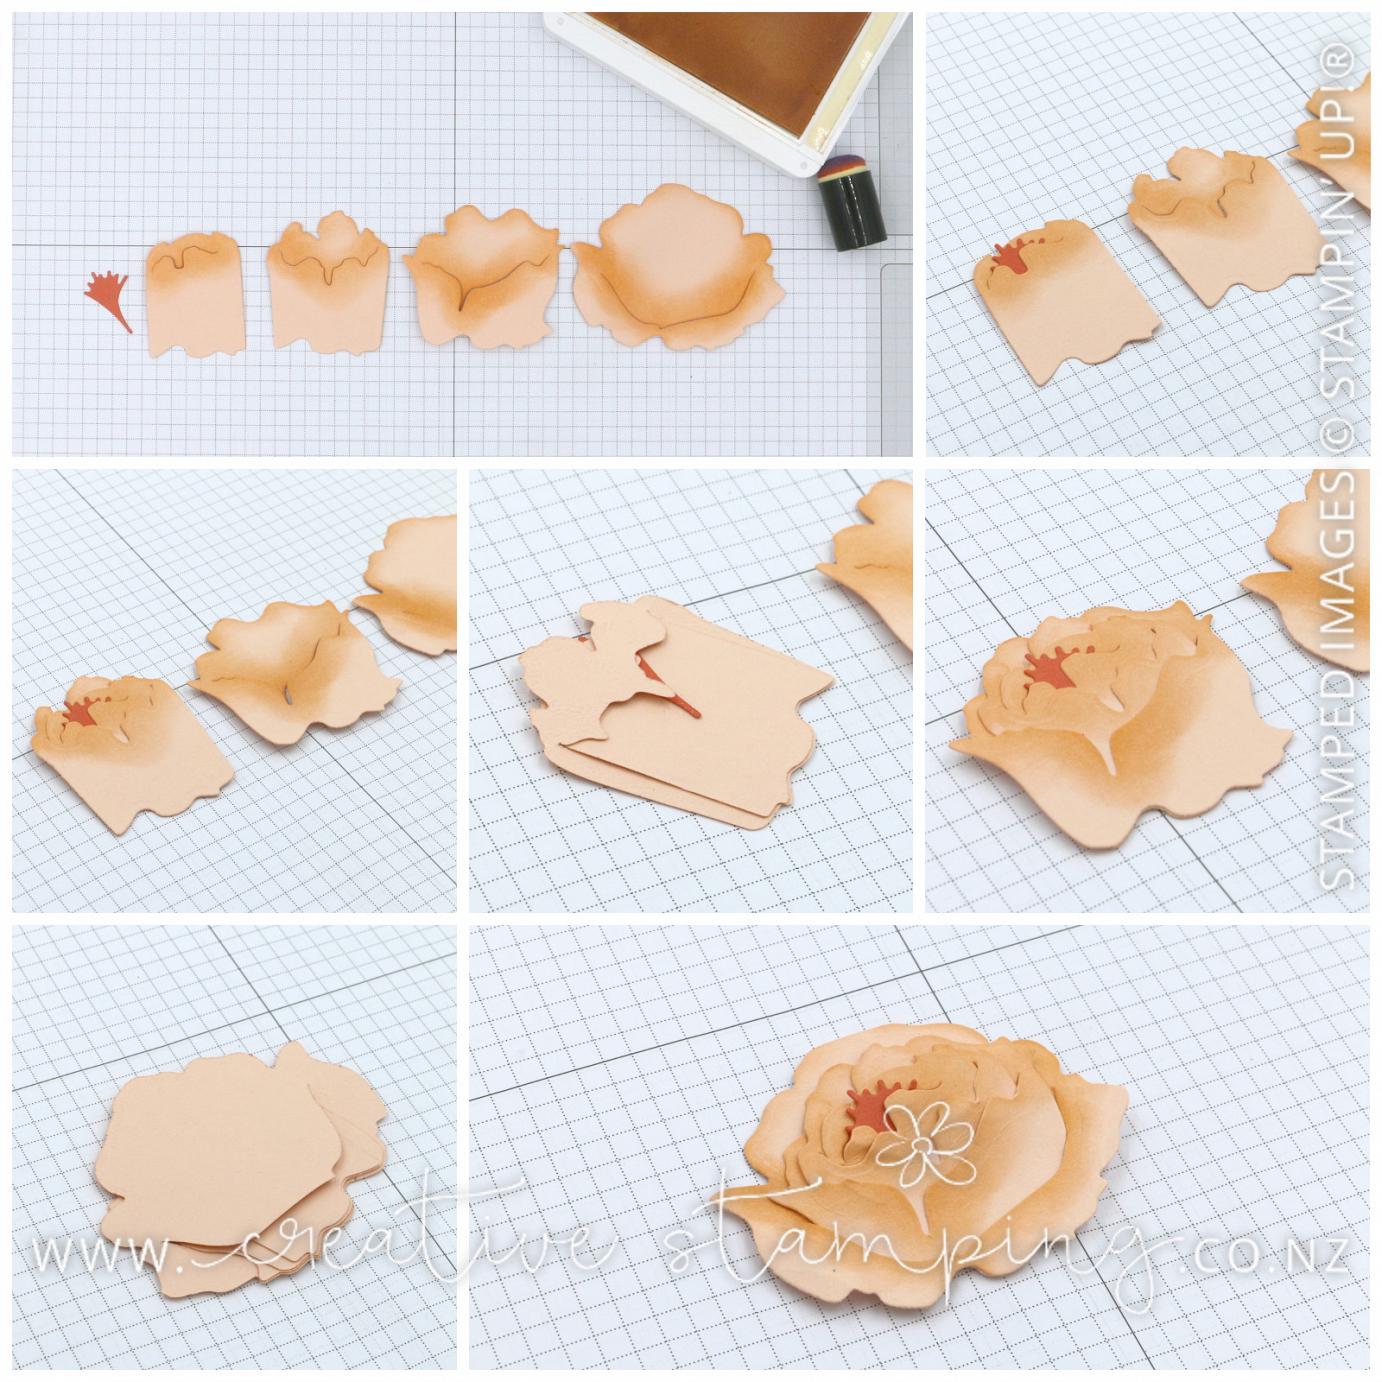
And now, as promised, here is how to create a Peony for adding to the front of this card. To begin, use the Peony Dies to die-cut each of the four pieces of the Peony flower from Petal Pink cardstock and a flower stamen from Calypso Coral cardstock.
Peony Dies (152701) - $84.00
Coordinates with the Prized Peony Stamp Set (154056) - $120.50
To give the Peony flower some lovely detail and depth, add some Petal Pink ink to the upper sections of the petals and the cut edges using a Sponge Dauber.
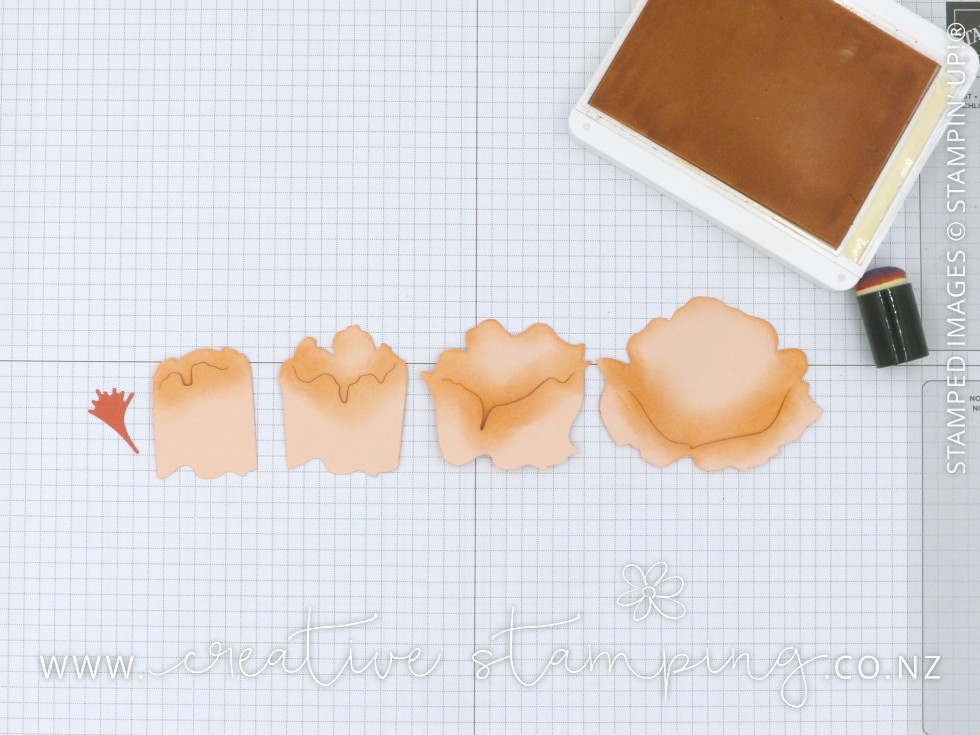
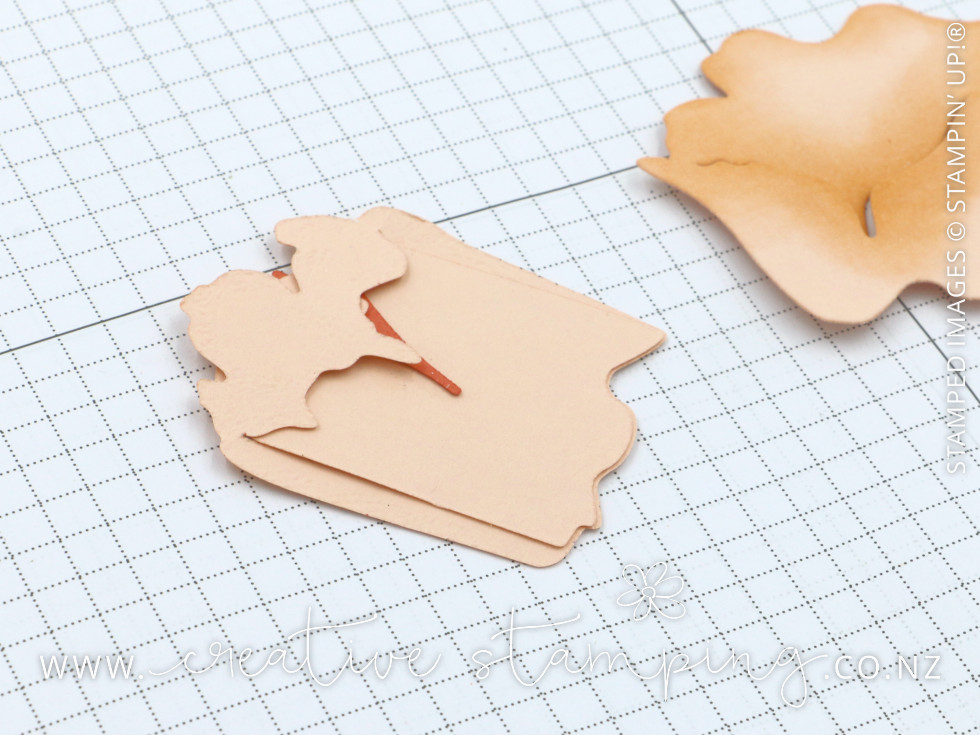
There are two big tips on how to create a Peony and get a great result. Here's the first... Do you see that the cut that bisects each of the Petal Pink pieces? It's like the top of a paper bag and each of the smaller pieces will tuck inside the next size up.
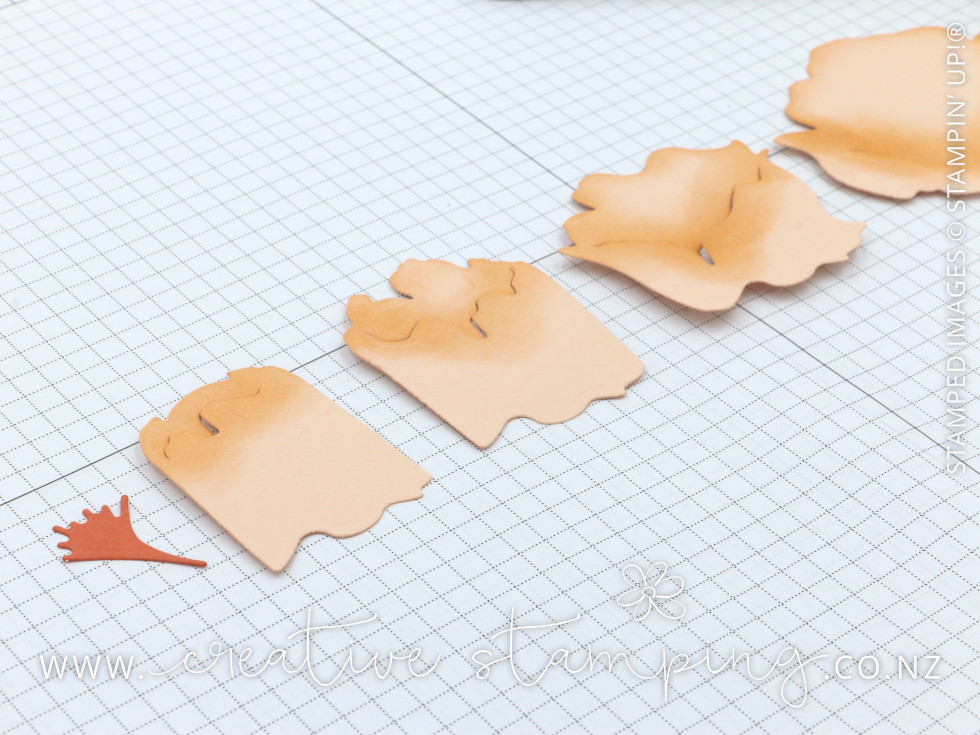
So here we go! Line up all five pieces in size order. Add a small amount of Tombow Multipurpose Liquid Glue to the bottom of the stamen and tuck it into the top of the smallest petal.
Then take the smallest petal and tuck it onto the top of the next size up.
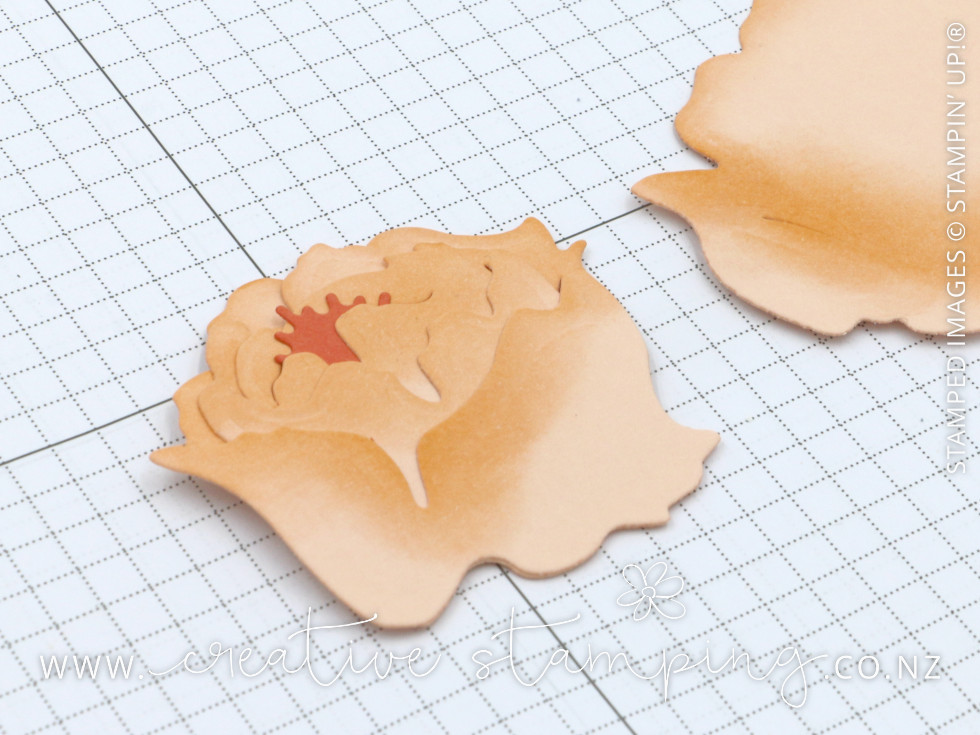
And here's the second big tip for how to create a Peony and get a great result... when you insert each of the petals, slide them down so the bottom edges are aligned. Turn over the petals and you will notice that the bottom edges match perfectly! So clever!
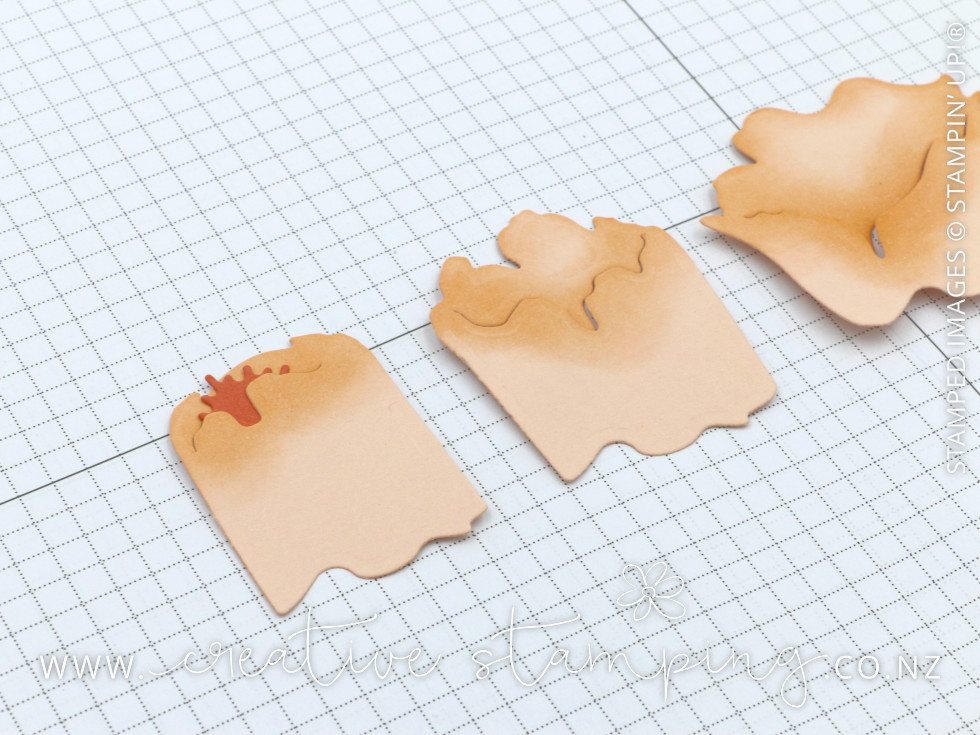
Adhere these two petals together then insert them into the top of the next size up, aligning the bottom edges.
And repeat that step once again, inserting the group of petals into the final, largest piece. If you turn this over, you will see that each of the petal pieces align at the bottom for a fabulous finish.
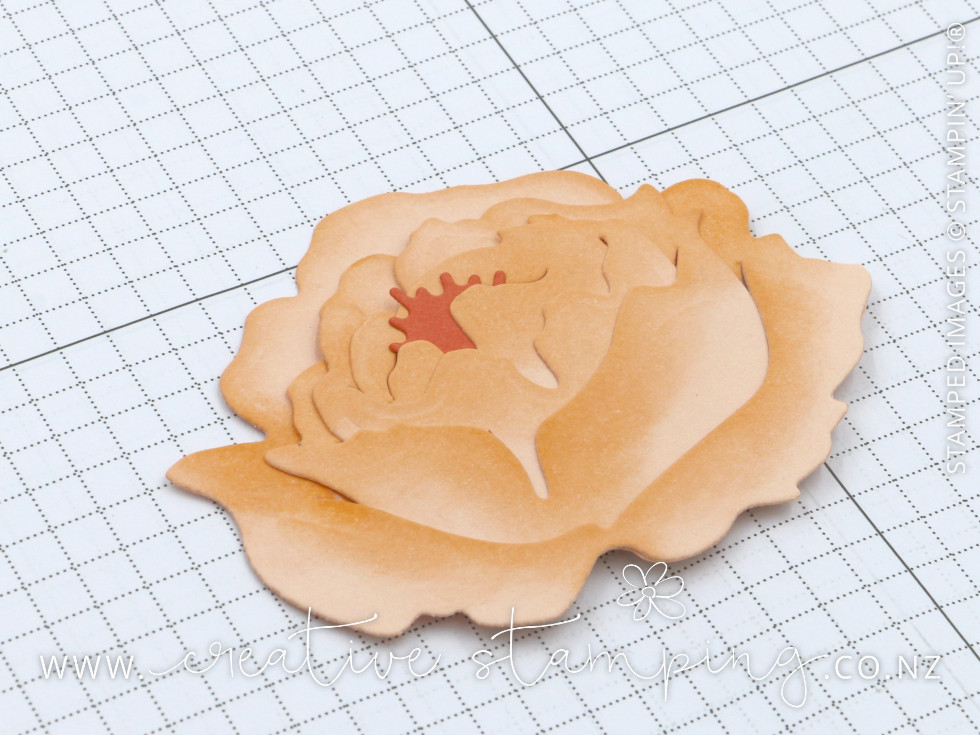
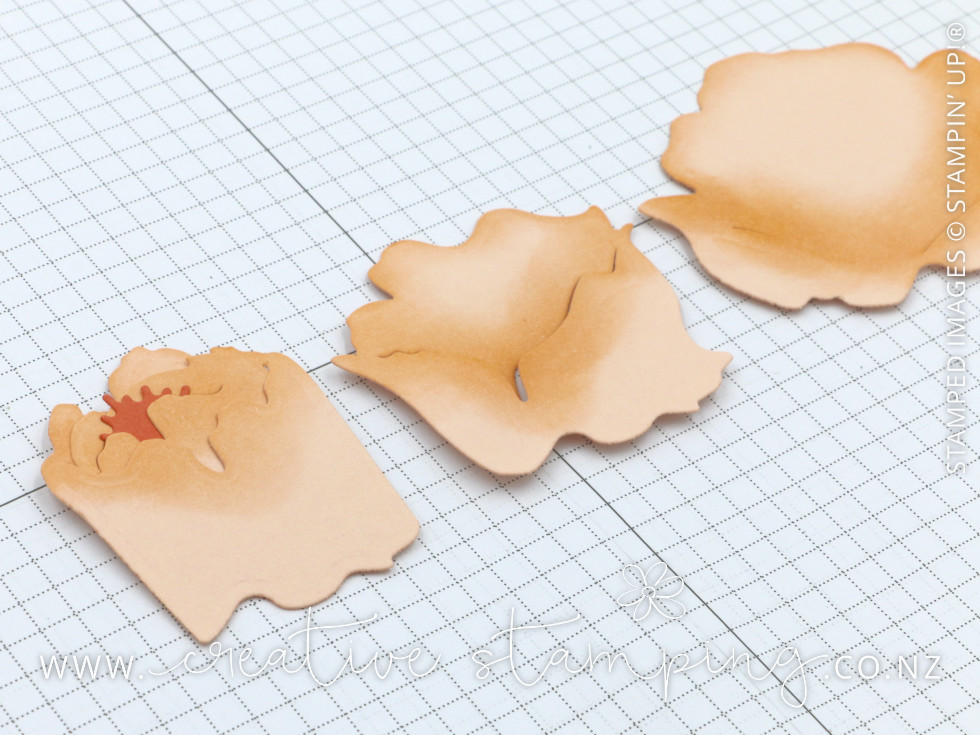
One last detail left. Take this flat flower and gives it some dimension and shape. Gently open up the Peony flower by folding and sculpting the petal edges at the front forward and push the ones behind backward.
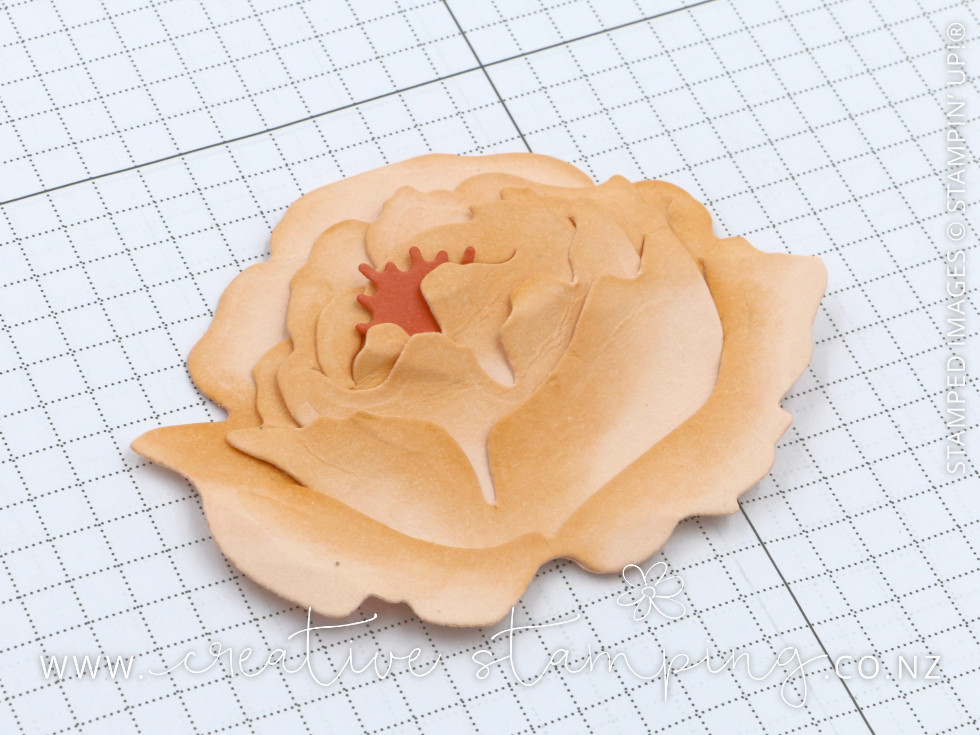
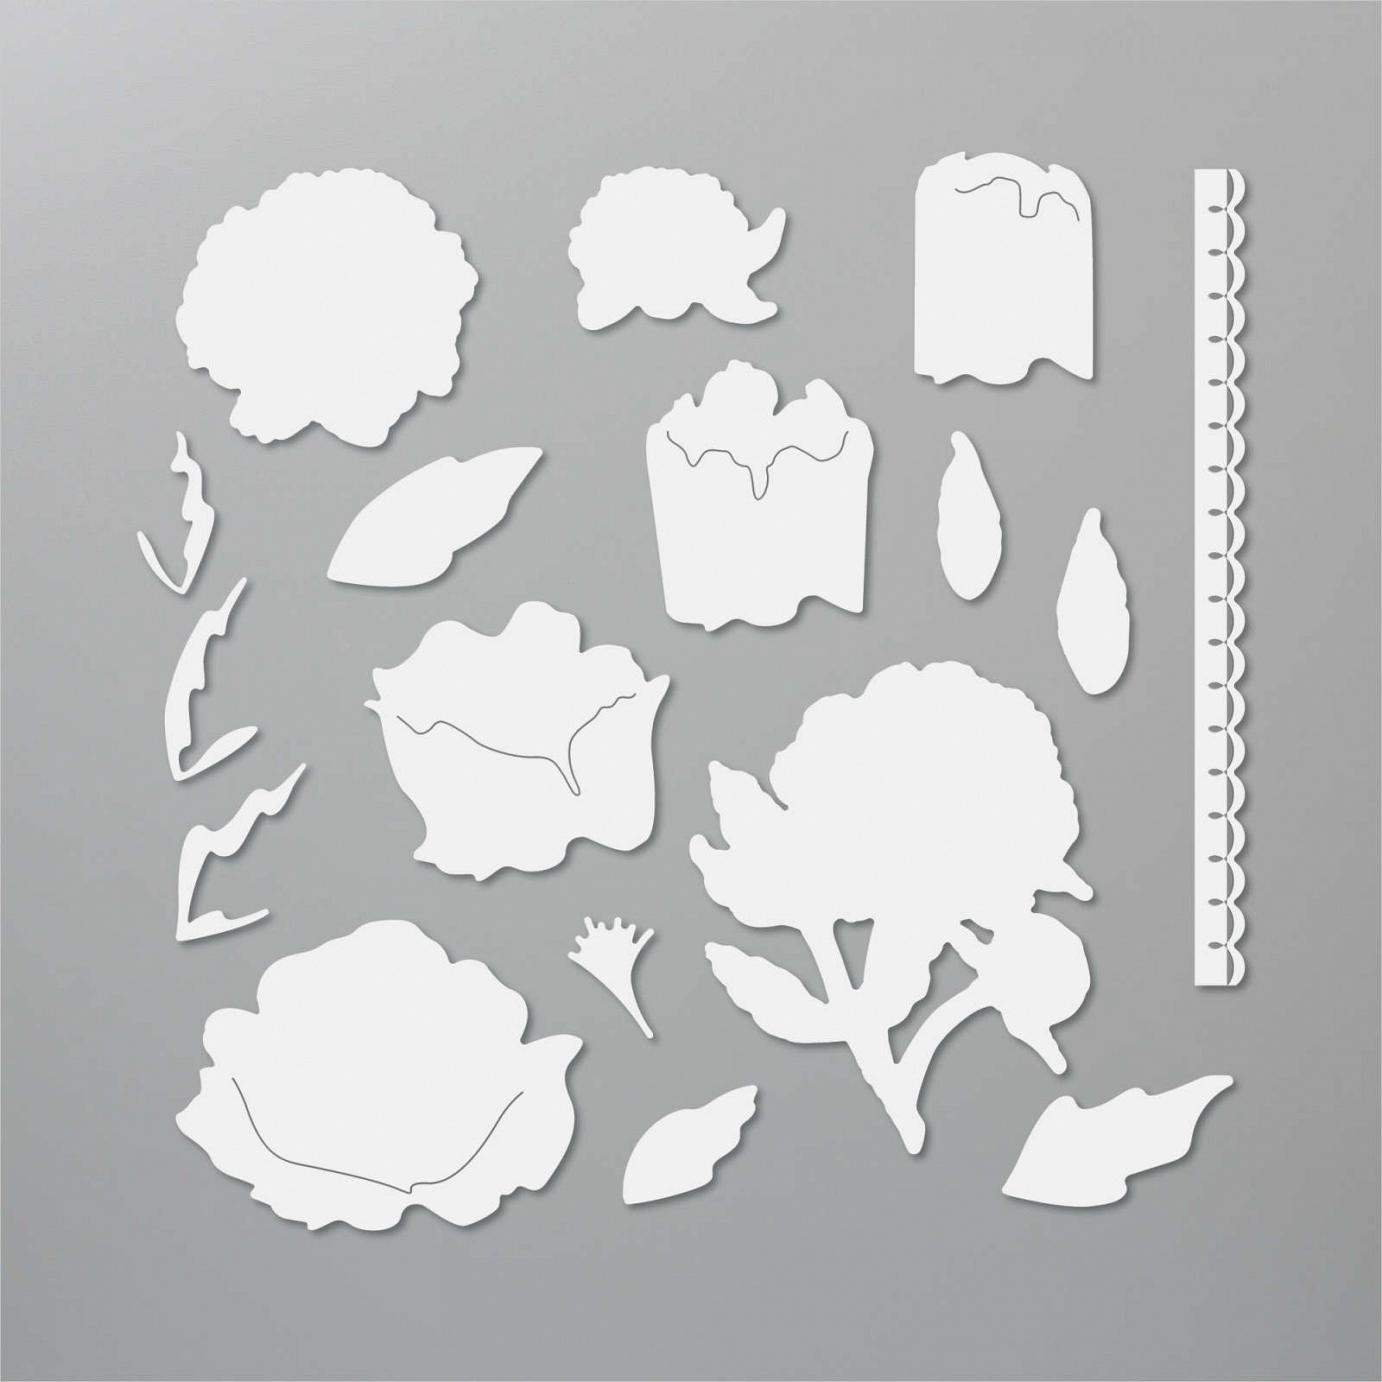
Here are all the steps on how to create a Peony in a single graphic...
So that is how to create a Peony using the Peony Dies. Now, this little beauty is ready to add to the front of the scrappy strip card with either Tombow Multipurpose Liquid Glue or Stampin' Dimensionals.
Click HERE to contact me to order these fabulous products or order online with me.