 Get
Get  Shop
Shop Contact


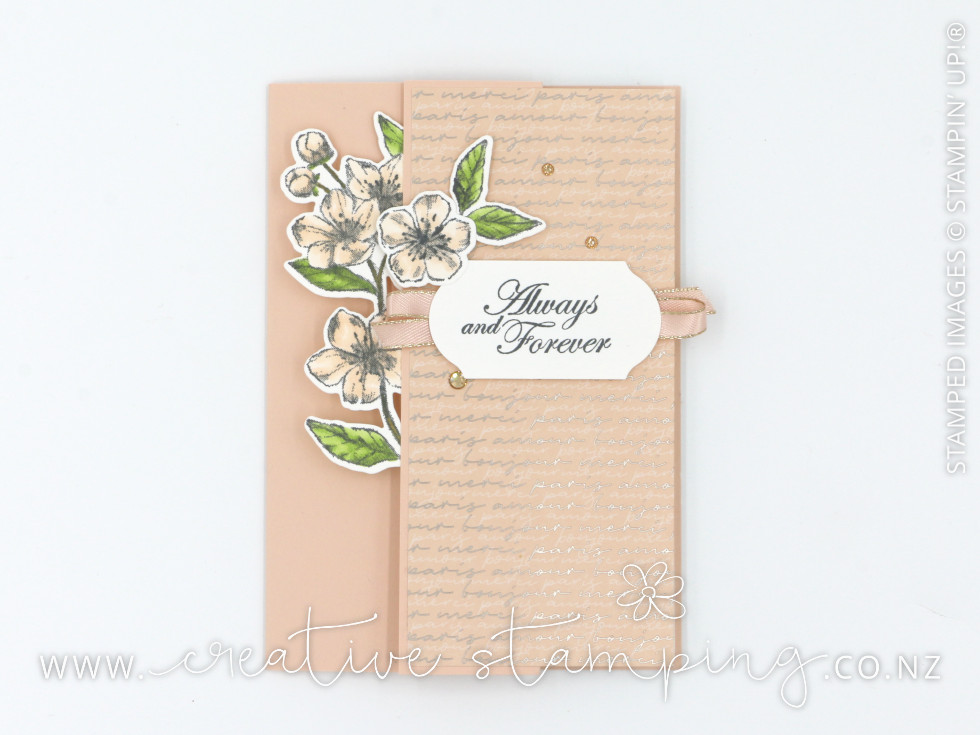
Have you seen the beautiful Parisian Blossoms Suite on page 15 of the new January-June 2020 Mini Catalogue? This coordinating set of products are soft and elegant with detailed floral images that are perfect for creating projects for weddings, anniversaries, friendships, and more. I used this product suite to create a handmade wedding card in some of my favourite colours...
Bundles: Forever Blossoms Stamp Set + Cherry Blossoms Dies (cling: 153781). Ink: Tuxedo Black Memento (132708). Card/Paper: Petal Pink (147009), Whisper White (106549), Parisian Blossoms Specialty Designer Series Paper (151192). Stampin' Blends: Petal Pink (147272), Granny Apple Green (147274), Soft Suede (147273). Accessories: Petal Pink 1/4" Metallic-Edge Ribbon (151194), Champagne Rhinestone Jewels (151193). Tools: Timeless Label Punch (159516), Tombow Multipurpose Liquid Glue (110755), Mini Stampin’ Dimensionals (144108).
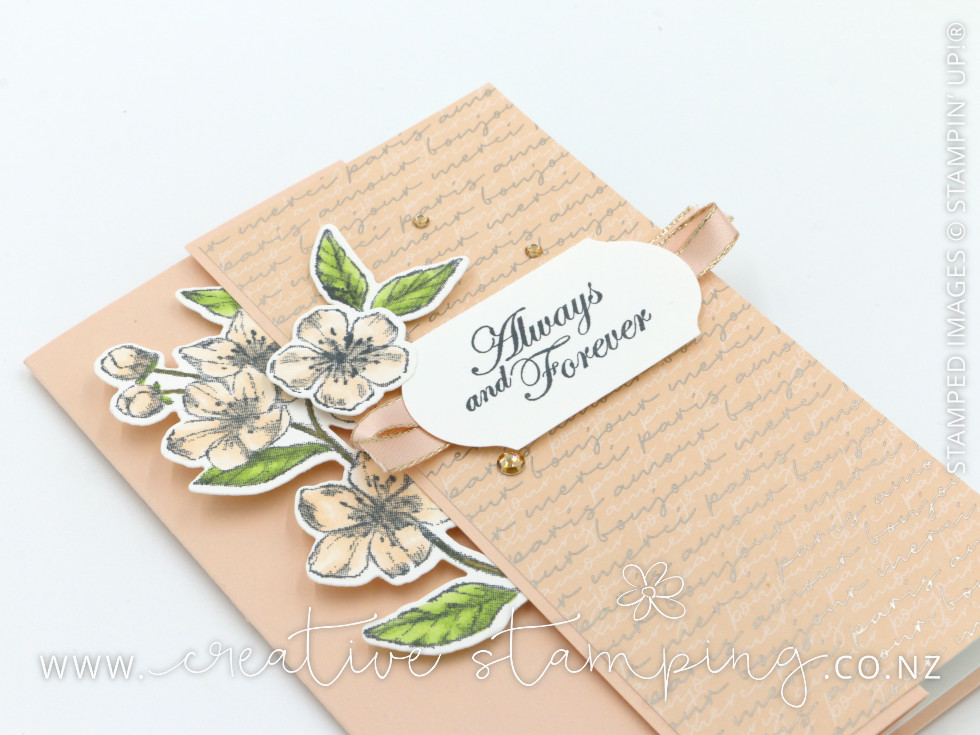
The front of this wedding card has the Parisian Blossoms Specialty Designer Series Paper. Now, when you see "Specialty" in the title, you know that there is something special about it. You can see from the photo that there is a shiny foil finish in the designs of the patterned paper. This champagne foil finish punctuates the whole Parisian Blossoms Suite, from the designer paper to the edge of the Petal Pink satin ribbon, plus the gorgeous Champagne Rhinestone Jewels. It truly gives any project some metallic wow-factor!

Parisian Blossoms Specialty Designer Series Paper (151192) - $30.00
12 sheets of 12" x 12" patterned paper: 2 each of 6 double-sided designs

Petal Pink 1/4" Metallic-Edge Ribbon (151172) - $14.75
9.1 m
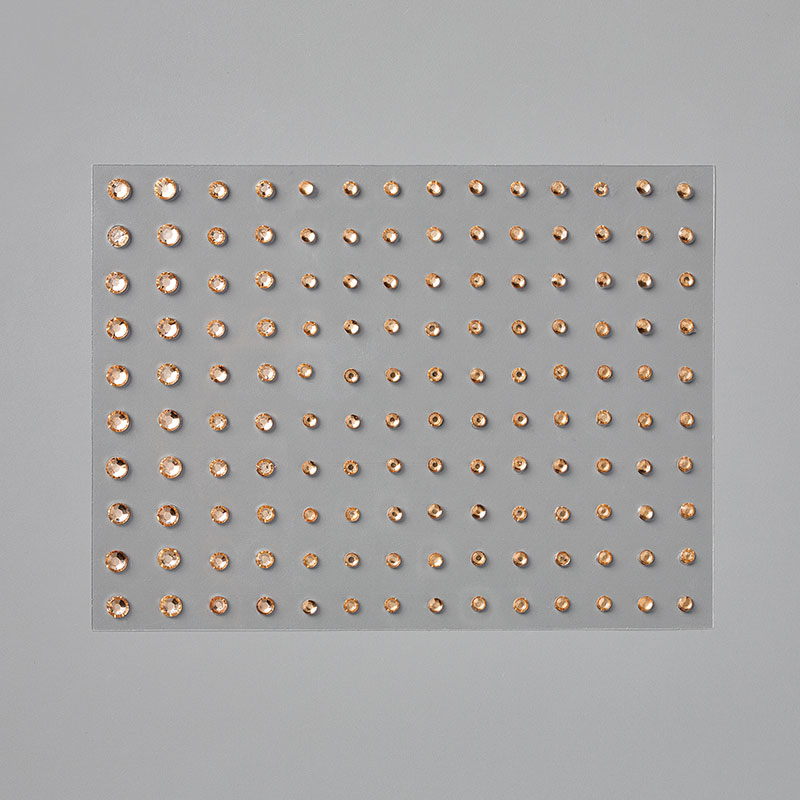
Champagne Rhinestone Basic Jewels (151193) - $12.50
40 self-adhesive rhinestones in 3 sizes
Let me talk to you a little more about the gorgeous Parisian Blossoms Specialty Designer Series Paper. This elegant paper is so beautiful it is difficult to cut up for a project. This is often the case and we are stymied from the very beginning. The design of this z-fold card helps with that issue. You use a whole 6" x 6" piece of designer paper. So you can cut your lovely 12" x 12" paper into quarters, or use the 6" x 6" designer paper packs. That's easy to do, and not too painful! You then cut this large piece of designer paper into panels, reassembling them on your card (like a puzzle), so losing none of the original design.
Here's what it looks like when you open this wedding card...
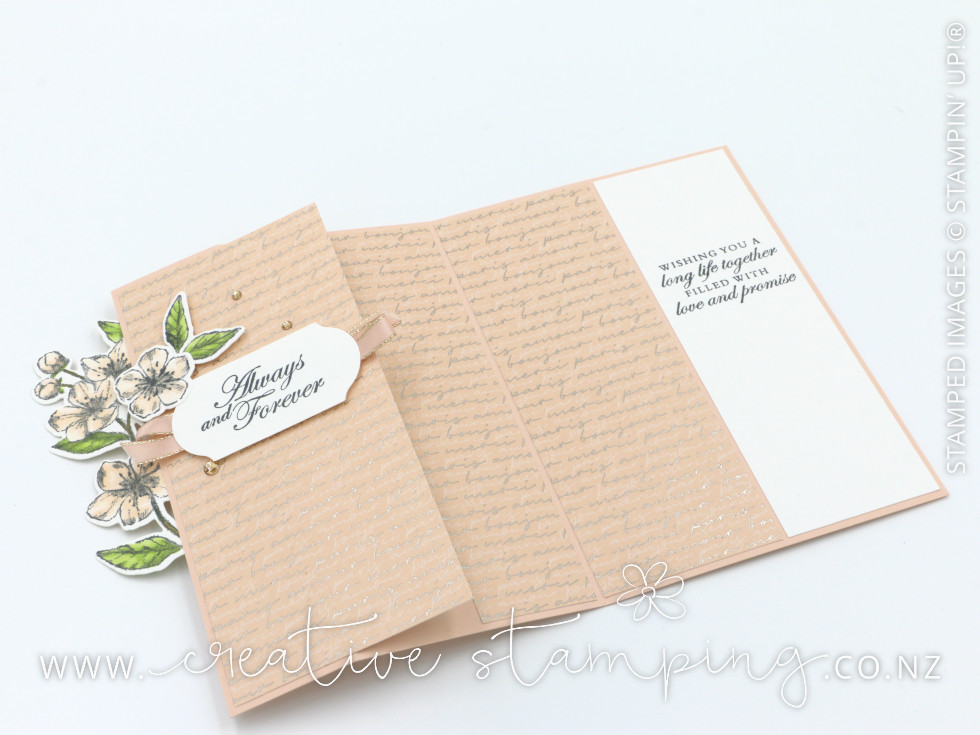
This card was designed by Rachel Tessman and it has a long name, it's a Three-Panel Scenery Z-Fold Card (try saying that 10-times fast!). I've altered this design to fit my metric cards. Here's how it's done...
- Cut the base cardstock at 21 cm x 14.8 cm, score at 3.5 cm and 10.5 cm.
- Trim the height of the 6" x 6" designer paper down to fit your card, in this case, I've cut it at 14.4 cm.
- Cut three panels at 6.6 cm, 3.3 cm, and 5.3 cm (these are your first, second, and third panels).
- Cut Whisper White cardstock at 4.7 cm x 14.4 cm (this is your fourth panel).
- To assemble, add the third panel first, tucking it up against the fold, then add the fourth panel. Close the card and add the first panel (this only has adhesive on half). Open the card and there is a perfectly measured space for the second, and final, panel.
Think about the possibilities on how you can utilise this card design so that you can use an entire patterned paper design, and not losing sight of the "whole picture".
Click HERE to contact me to order your favourites or order online with me. Either way can earn FREE products during Sale-A-Bration!