Get
Get  Shop
Shop Contact


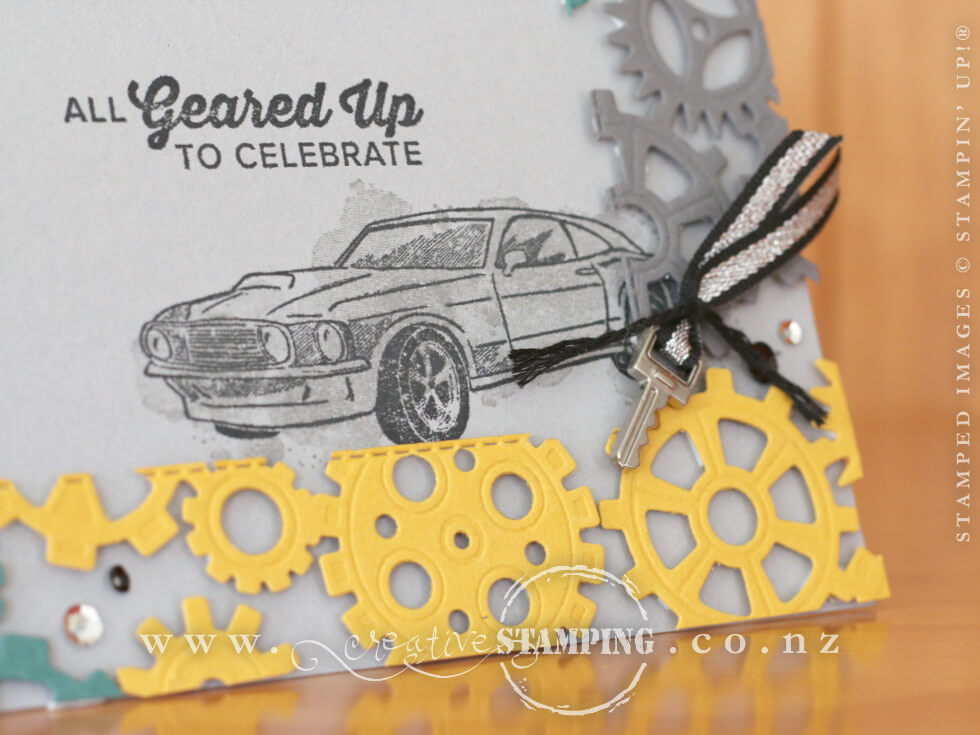
If you have a petrol head or car enthusiast in your family, then the Classic Garage Suite on page 43 of the Occasions Catalogue is perfect for you! Here's a masculine birthday card design that uses the Geared Up Garage stamp set, coordinating Garage Gears Thinlits Dies, the Classic Garage Metal Elements, and gorgeous Black/Silver Striped Ribbon...
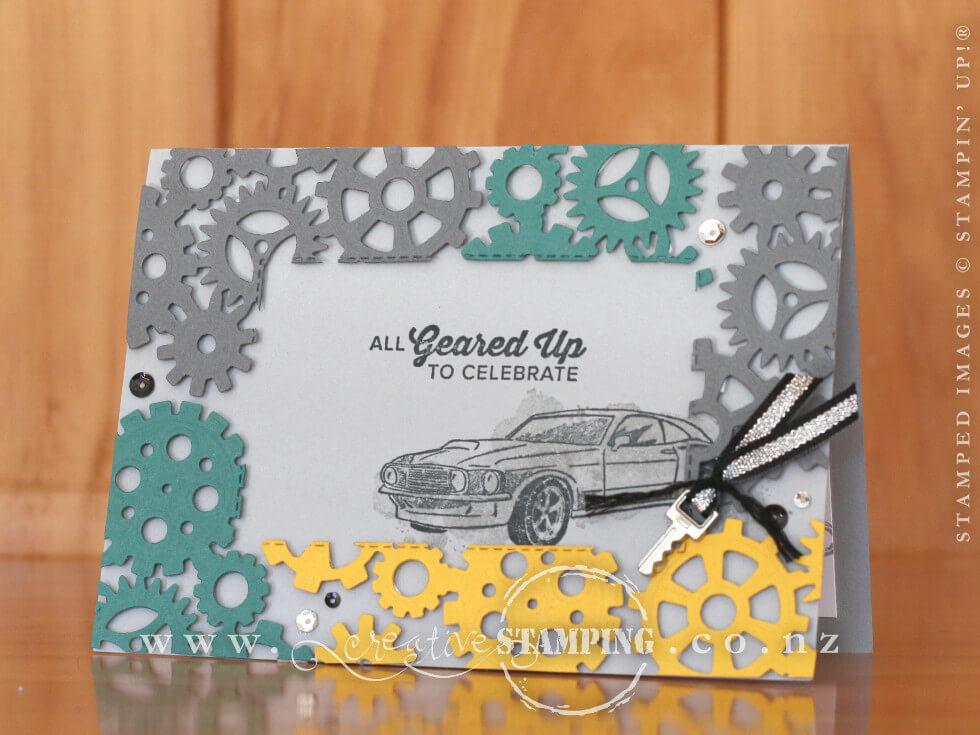
Bundles: Geared Up Garage Stamp Set + Garage Gears Thinlits Dies (cling: 150610). Ink: Smoky Slate (147113), Tuxedo Black Memento (132708). Card/Paper: Smoky Slate (131291), Basic Gray, Tranquil Tide, and Crushed Curry (Classic Garage Cardstock Pack: 148484), Whisper White (106549). Accessories: Black/Silver 1/4" Striped Metallic Ribbon (148486), Basic Black Solid Baker's Twine (141682), Classic Garage Metal Elements (148485), Metallics Sequin Assortment (144214). Tools: Big Shot Die-Cutting Machine (143263), Magnetic Platform (130658), Rectangle Stitched Framelits Dies (148551), Tombow Multipurpose Liquid Glue (110755), Mini Glue Dots (103683), Mini Stampin' Dimensionals (144108). Other: Glad® Press 'N' Seal® Cling Film.
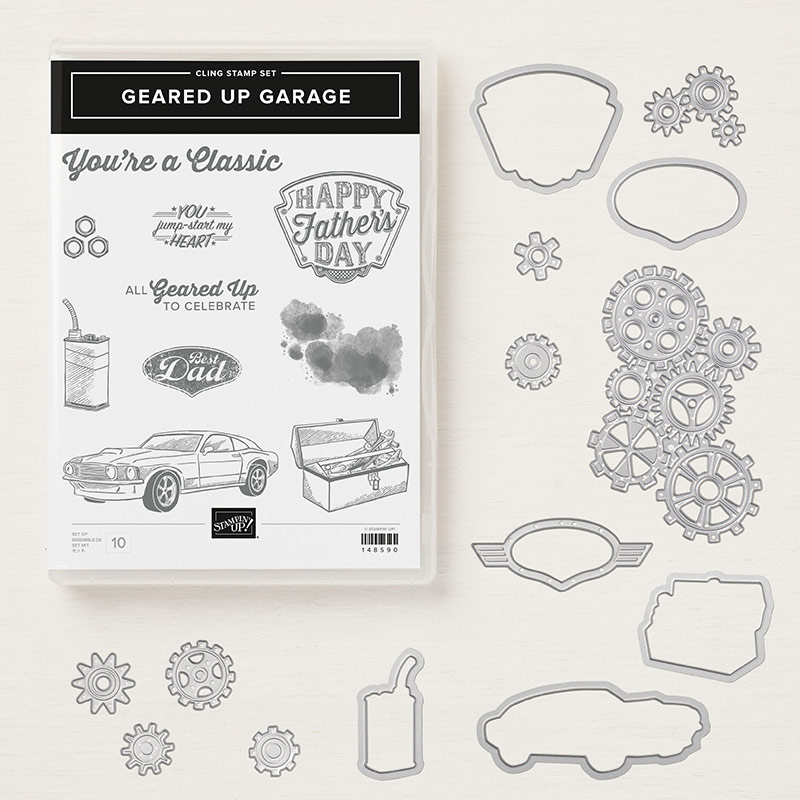
Geared Up Garage Stamp Set + Garage Gears Thinlits Dies Bundle (cling: 150610) - $101.50
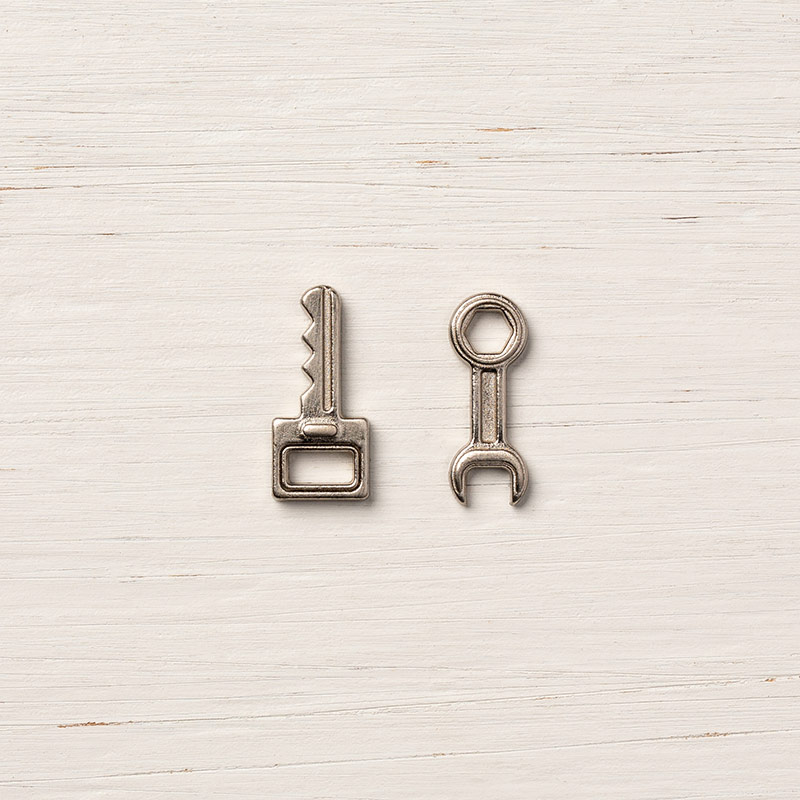
Classic Garage Metal Elements (148485) - $14.75
16 silver metallic embellishments: 8 each of 2 designs

Black/Silver 1/4" Striped Metallic Ribbon (148486) - $14.75
9.1 m
This card has a fun technique by Jennifer McGuire, which is a floating frame of die-cut gears. Here's a quick outline on how to create such a frame...
- Cut a piece of Whisper White card stock the same size as the front of your card.
- Die-cut multiple images. I have used the gears die from the Garage Gears Thinlits in Tranquil Tide, Basic Gray, and Crushed Curry card stock. You could use stamped and die-cut images too.
- Lay all the die-cut images over the Whisper White card stock, but do not adhere. Cover as much of the card stock as you can without the die-cut pieces overlapping.
- Take a piece of Glad® Press 'N' Seal® Cling Film and lay it over the die-cut images. One side of the Glad Press 'N' Seal is slightly sticky, similar to the temporary adhesive of a Post-it® Note. Lightly press down the cling film to hold the layout.
- Turn over the Whisper White card stock and trim off the excess that is hanging over the edges.
- Die-cut a rectangle from the middle of the Whisper White card stock to create a frame. The die will cut through the Press 'N' Seal and the die-cuts, but it will all be held in place.
- Remove the Whisper White card stock and apply Mini Stampin' Dimensionals to the back of all the die-cut pieces. Remove the backings from the Mini Stampin' Dimensionals and adhere the frame to the front of your card.
- Gently remove the Press 'N' Seal from the front of the die-cuts, leaving behind a floating frame!
I've finished this card with some metallic sequins for a bit of bling and to fill in any holes in the frame, pulling it all together.
- Click HERE and contact me to order these products
OR
Order online...